Hello containers!
Made with ❤️ with Pulumi
``` You should have the following directory structure: 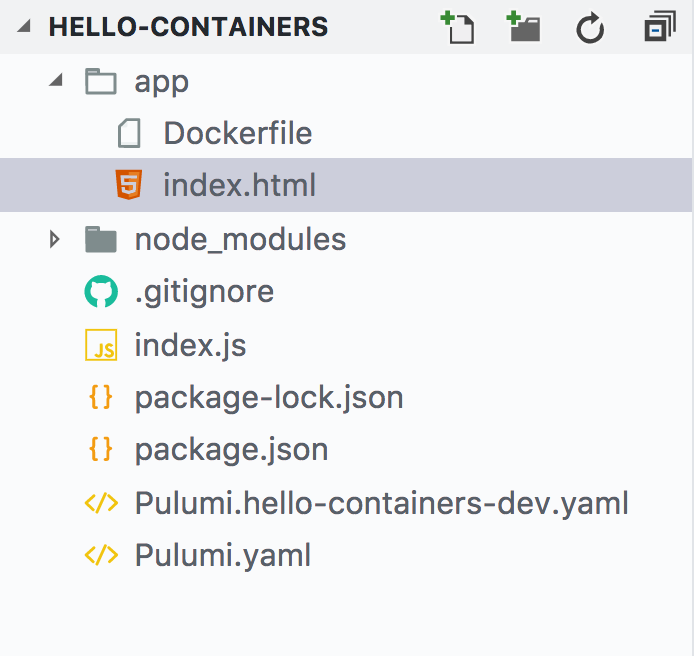 1. Install the `@pulumi/cloud-aws` NPM package: npm install --save @pulumi/cloud-aws @pulumi/cloud 2. Configure Pulumi to use AWS Fargate. Note that, currently, Fargate is available only in `us-east-1`, `us-east-2`, `us-west-2`, and `eu-west-1`. pulumi config set cloud-aws:useFargate true ## Deploy the app To deploy both the infrastructure and app code, we'll run `pulumi update`. This command first shows a preview of all the resources that will be created and prompts for confirmation. During the preview phase, Pulumi invokes `docker build`. 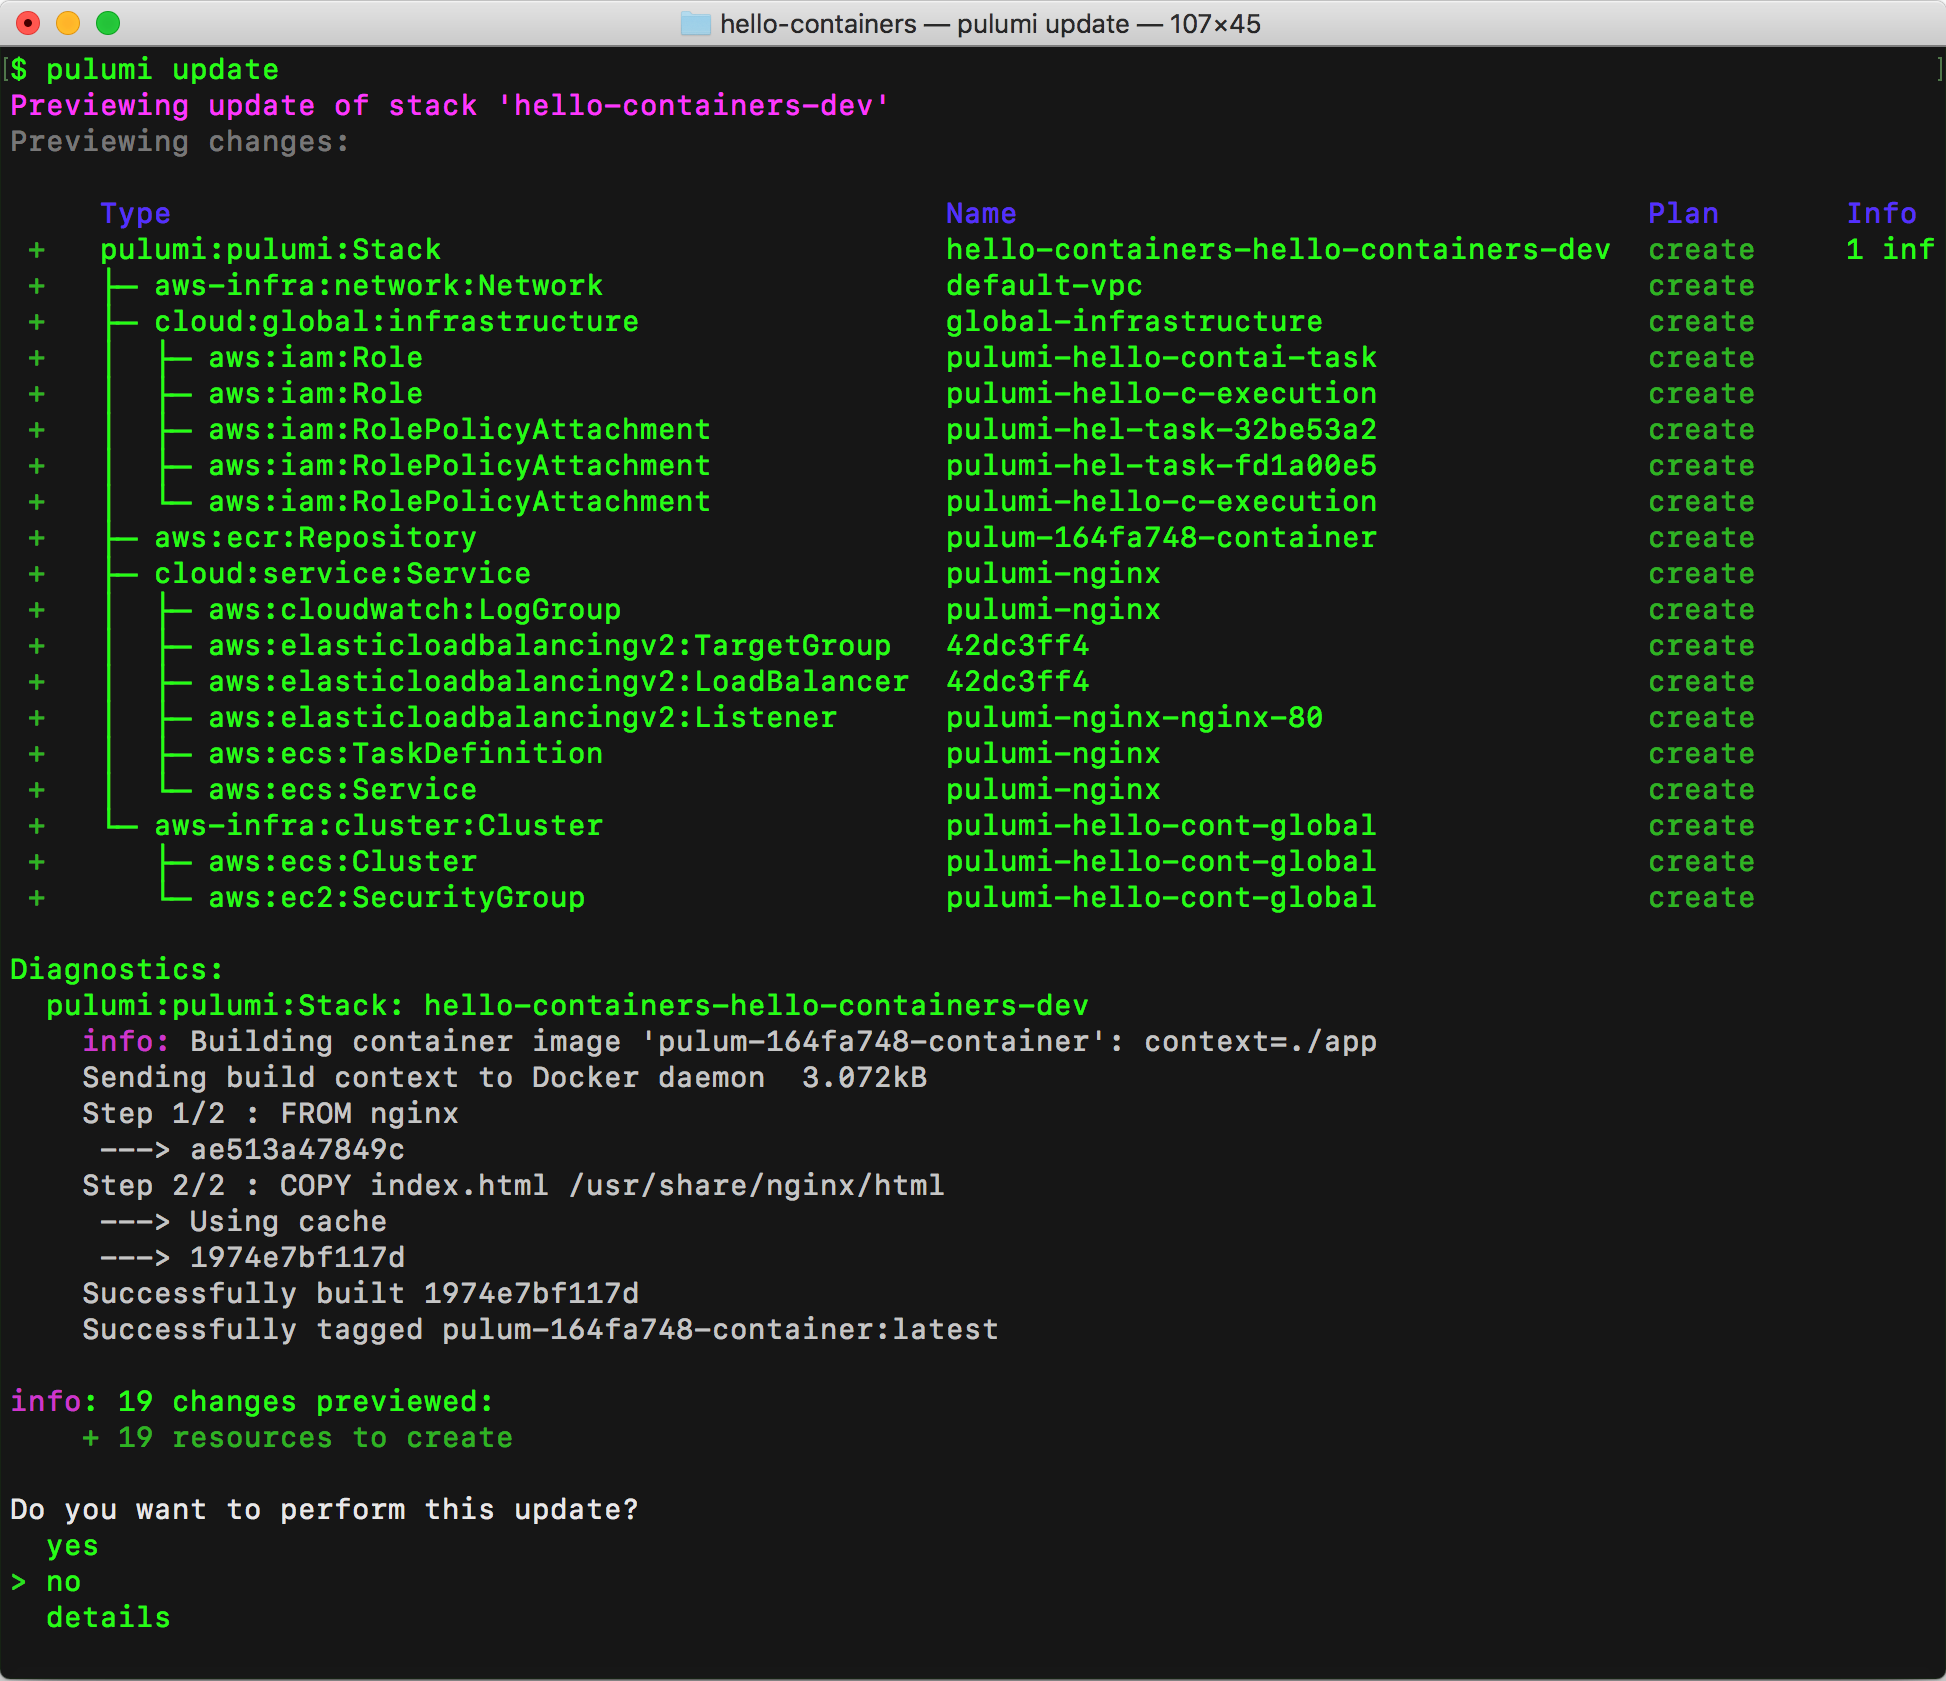 Choose the `yes` option to deploy to AWS. This will take about 5 minutes. Pulumi automatically builds and provisions an AWS container repository in ECR, builds the Docker container, and places the image in the repository. This all happens automatically and does not require manual configuration on your part. At the end of the update, you'll see a link to the Pulumi Service that shows the details of the deployment. 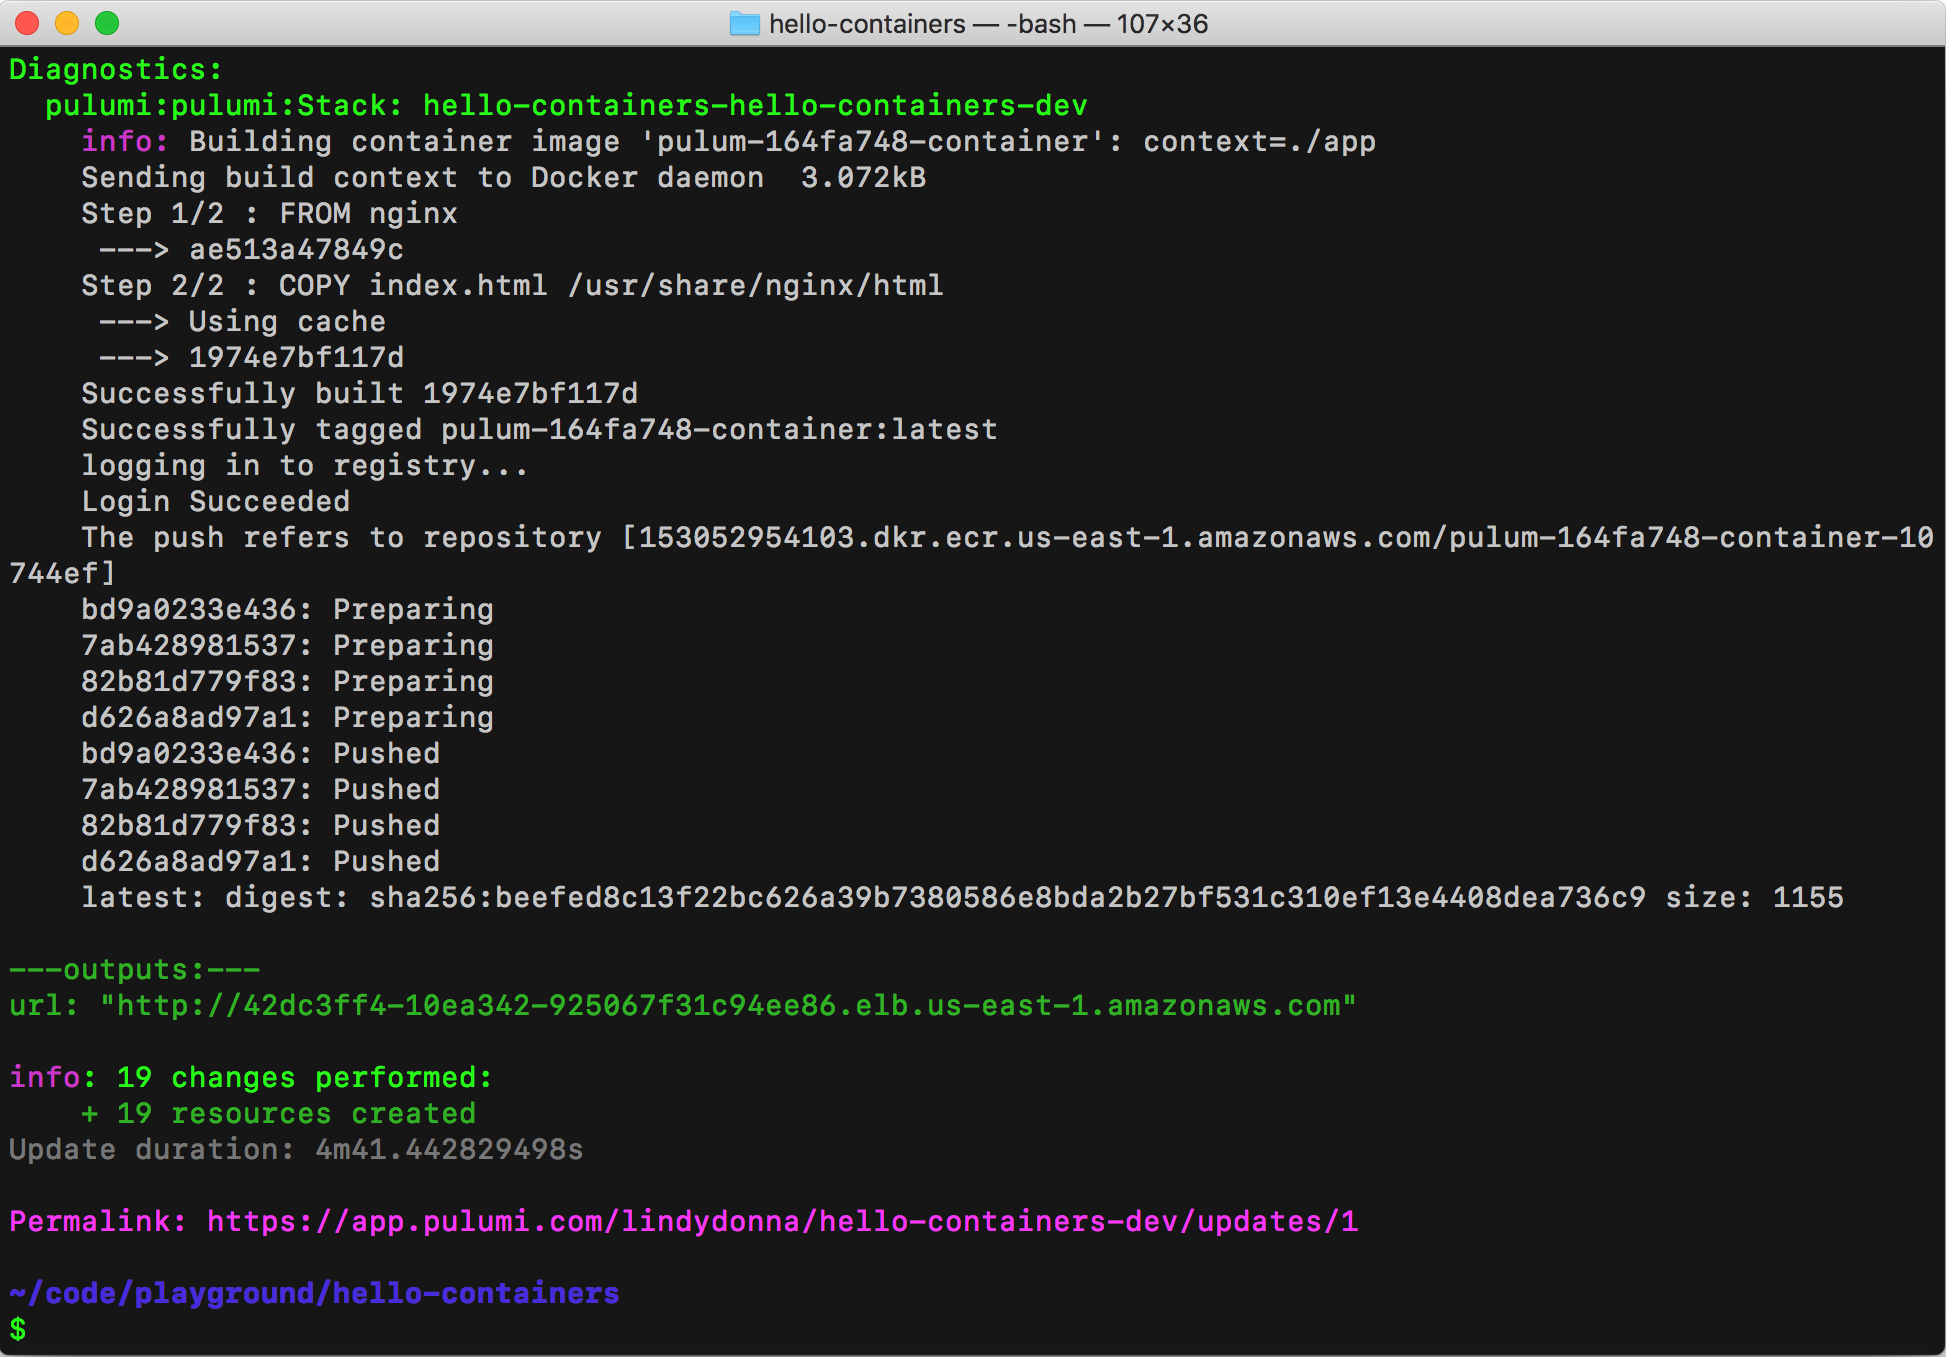 Go to this link and click the **Resources** tab. You'll see all the resources you've created. Notice that Pulumi has created an ECR repository, a load balancer, an ECS service and task definition, and IAM roles. Now, go back to the stack details page, which shows the stack configuration, as well as the stack output property. The following line creates the stack output `url`: ``exports.url = service.defaultEndpoint.apply(e => `http://${e.hostname}`);`` If you navigate to the link for `url` you'll see the following page:  ## View logs You can view container frontend and compute logs via the `pulumi logs` command. You can see here that most of the traffic is hitting routes that don't exist, aside from the last log line where I navigated to the site using Chrome. Since this is an HTTP server that's open to the internet, it's not uncommon for attackers to try to find a security vulnerability on a site. Fortunately, our container is serving only static content. The logs command makes it easy to get details on your site traffic. $ pulumi logs Collecting logs for stack hello-containers-dev since 2018-06-15T15:01:18.000-07:00. 2018-06-15T15:27:47.468-07:00[ pulumi-nginx] 2018/06/15 22:27:47 [error] 5#5: *4 open() "/usr/share/nginx/html/proxychecker.axd" failed (2: No such file or directory), client: 62.210.157.152, server: localhost, request: "GET http://proxy.dazhou.net/proxychecker.axd?e=457758511%40qq.com&p=http%3A%2F%2F34.201.27.186%3A80&s=AS HTTP/1.1", host: "proxy.dazhou.net" 2018-06-15T15:27:47.468-07:00[ pulumi-nginx] 62.210.157.152 - - [15/Jun/2018:22:27:47 +0000] "GET http://proxy.dazhou.net/proxychecker.axd?e=457758511%40qq.com&p=http%3A%2F%2F34.201.27.186%3A80&s=AS HTTP/1.1" 404 170 "-" "Go-http-client/1.1" "-" 2018-06-15T15:32:02.128-07:00[ pulumi-nginx] 2018/06/15 22:32:02 [error] 5#5: *382 "/usr/share/nginx/html/phpmyadmin/index.html" is not found (2: No such file or directory), client: 178.239.177.212, server: localhost, request: "HEAD http://34.201.27.186:80/phpmyadmin/ HTTP/1.1", host: "34.201.27.186" 2018-06-15T16:07:05.874-07:00[ pulumi-nginx] 172.31.44.144 - - [15/Jun/2018:23:07:05 +0000] "GET / HTTP/1.1" 304 0 "-" "Mozilla/5.0 (Macintosh; Intel Mac OS X 10_13_4) AppleWebKit/537.36 (KHTML, like Gecko) Chrome/67.0.3396.87 Safari/537.36" "-" ## Clean up To clean up the resources we've provisioned, run `pulumi destroy`. ## Next steps The [sample code for this post](https://github.com/pulumi/examples/tree/master/cloud-js-containers) is available in the [Pulumi examples repo on GitHub](https://github.com/pulumi/examples). For an example application that connects two containers, see the [Voting App](https://github.com/pulumi/examples/tree/master/cloud-ts-voting-app) TypeScript sample.