13 KiB
| id | title | sidebar_label |
|---|---|---|
| tutorial-kafka | Load streaming data from Apache Kafka | Load from Apache Kafka |
This tutorial shows you how to load data into Apache Druid from a Kafka stream, using Druid's Kafka indexing service.
The tutorial guides you through the steps to load sample nested clickstream data from the Koalas to the Max game into a Kafka topic, then ingest the data into Druid.
Prerequisites
Before you follow the steps in this tutorial, download Druid as described in the quickstart using the automatic single-machine configuration and have it running on your local machine. You don't need to have loaded any data.
Download and start Kafka
Apache Kafka is a high-throughput message bus that works well with Druid. For this tutorial, use Kafka 2.7.0.
-
To download Kafka, run the following commands in your terminal:
curl -O https://archive.apache.org/dist/kafka/2.7.0/kafka_2.13-2.7.0.tgz tar -xzf kafka_2.13-2.7.0.tgz cd kafka_2.13-2.7.0 -
If you're already running Kafka on the machine you're using for this tutorial, delete or rename the
kafka-logsdirectory in/tmp.Druid and Kafka both rely on Apache ZooKeeper to coordinate and manage services. Because Druid is already running, Kafka attaches to the Druid ZooKeeper instance when it starts up.
In a production environment where you're running Druid and Kafka on different machines, start the Kafka ZooKeeper before you start the Kafka broker.
-
In the Kafka root directory, run this command to start a Kafka broker:
./bin/kafka-server-start.sh config/server.properties -
In a new terminal window, navigate to the Kafka root directory and run the following command to create a Kafka topic called
kttm:./bin/kafka-topics.sh --create --topic kttm --bootstrap-server localhost:9092Kafka returns a message when it successfully adds the topic:
Created topic kttm.
Load data into Kafka
In this section, you download sample data to the tutorial's directory and send the data to your Kafka topic.
-
In your Kafka root directory, create a directory for the sample data:
mkdir sample-data -
Download the sample data to your new directory and extract it:
(cd sample-data && curl -O https://static.imply.io/example-data/kttm-nested-v2/kttm-nested-v2-2019-08-25.json.gz) -
In your Kafka root directory, run the following commands to post sample events to the
kttmKafka topic:export KAFKA_OPTS="-Dfile.encoding=UTF-8" gzcat ./sample-data/kttm-nested-v2-2019-08-25.json.gz | ./bin/kafka-console-producer.sh --broker-list localhost:9092 --topic kttm
Load data into Druid
Now that you have data in your Kafka topic, you can use Druid's Kafka indexing service to ingest the data into Druid.
To do this, you can use the Druid console data loader or you can submit a supervisor spec. Follow the steps below to try each method.
Load data with the console data loader
The Druid console data loader presents you with several screens to configure each section of the supervisor spec, then creates an ingestion task to ingest the Kafka data.
To use the console data loader:
-
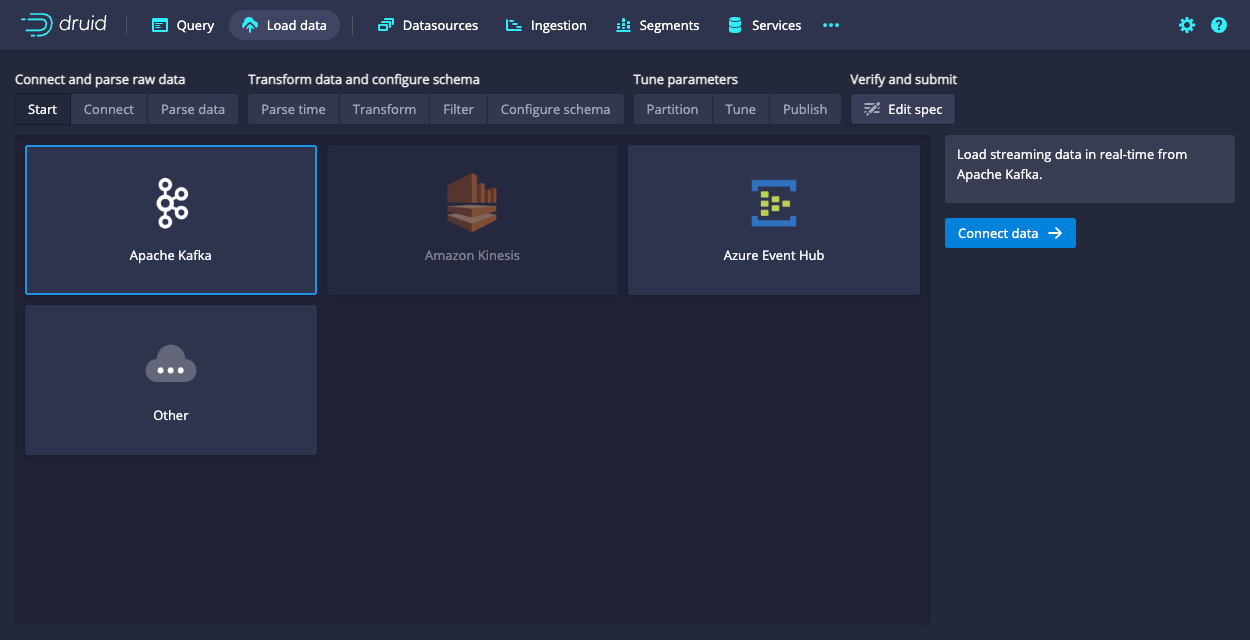
Navigate to localhost:8888 and click Load data > Streaming.
-
Click Apache Kafka and then Connect data.
-
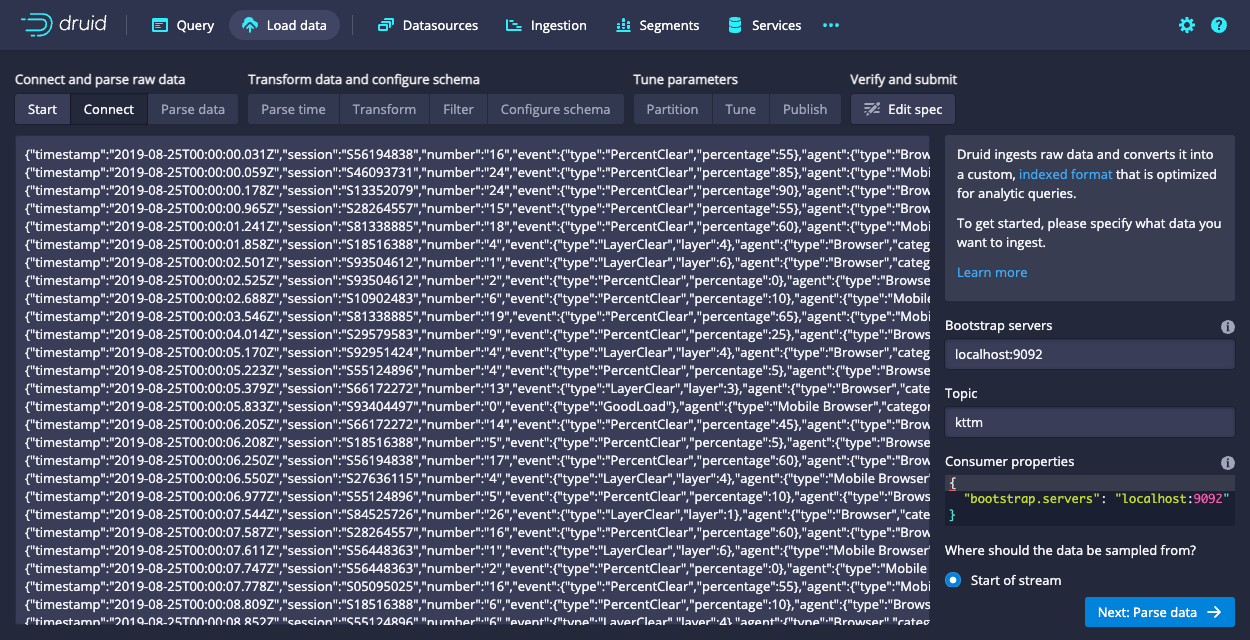
Enter
localhost:9092as the bootstrap server andkttmas the topic, then click Apply and make sure you see data similar to the following: -
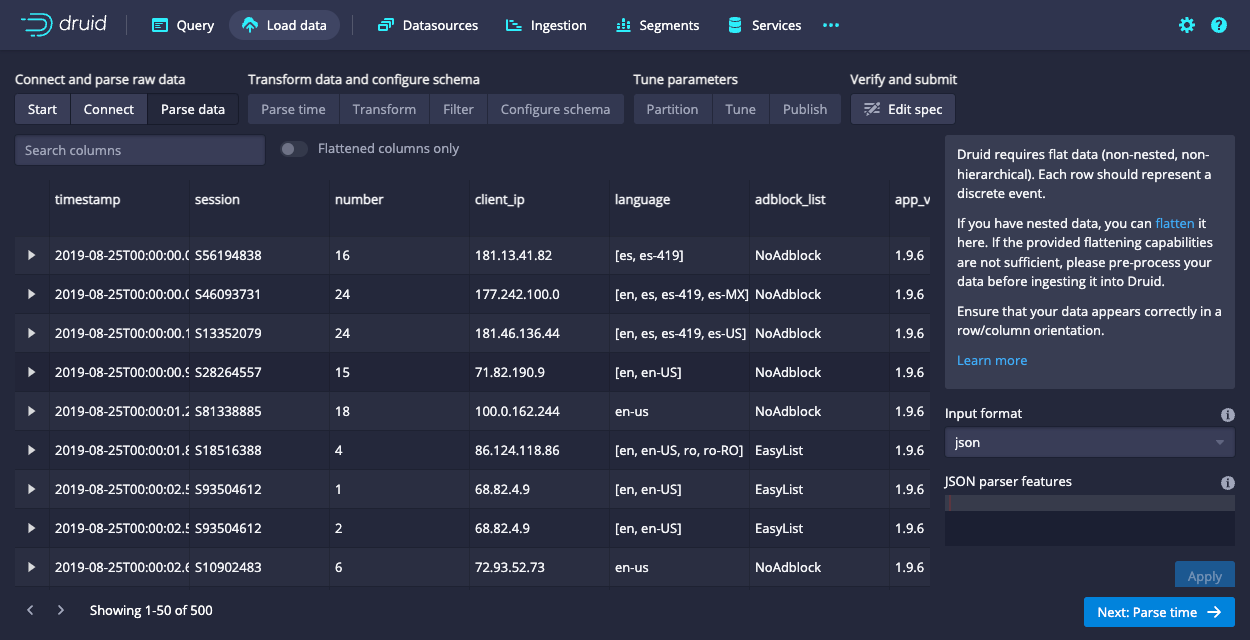
Click Next: Parse data.
The data loader automatically tries to determine the correct parser for the data. For the sample data, it selects input format
json. You can play around with the different options to get a preview of how Druid parses your data. -
With the
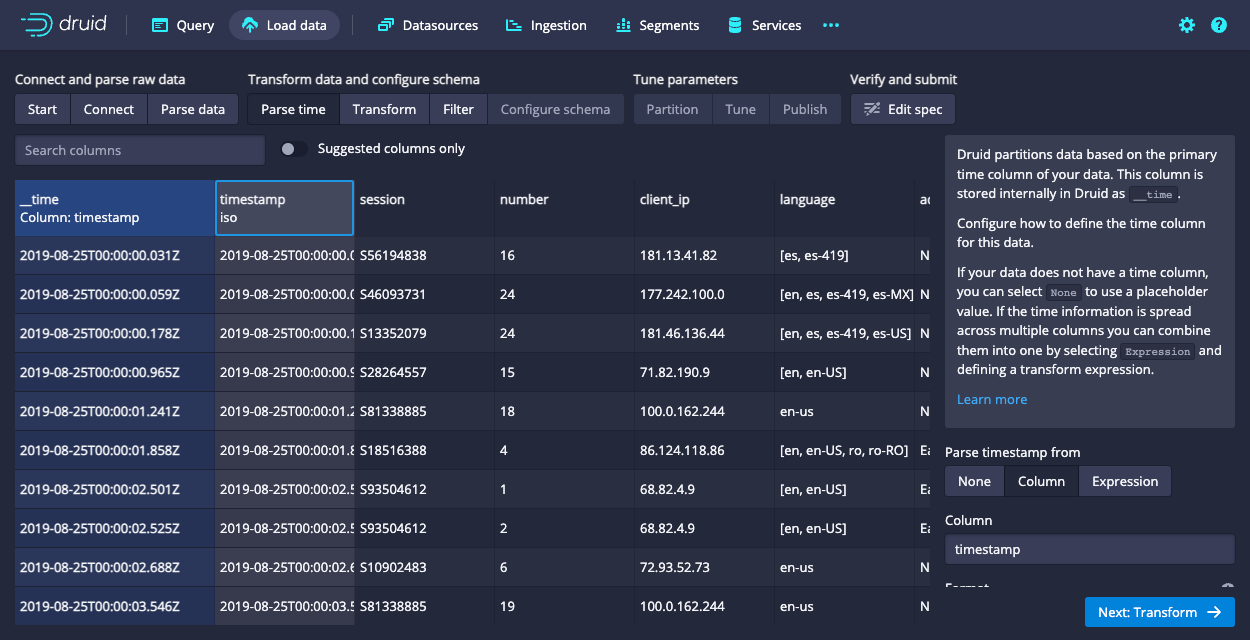
jsoninput format selected, click Next: Parse time. You may need to click Apply first.Druid's architecture requires that you specify a primary timestamp column. Druid stores the timestamp in the
__timecolumn in your Druid datasource. In a production environment, if you don't have a timestamp in your data, you can select Parse timestamp from:Noneto use a placeholder value.For the sample data, the data loader selects the
timestampcolumn in the raw data as the primary time column. -
Click Next: ... three times to go past the Transform and Filter steps to Configure schema. You don't need to enter anything in these two steps because applying transforms and filters is out of scope for this tutorial.
-
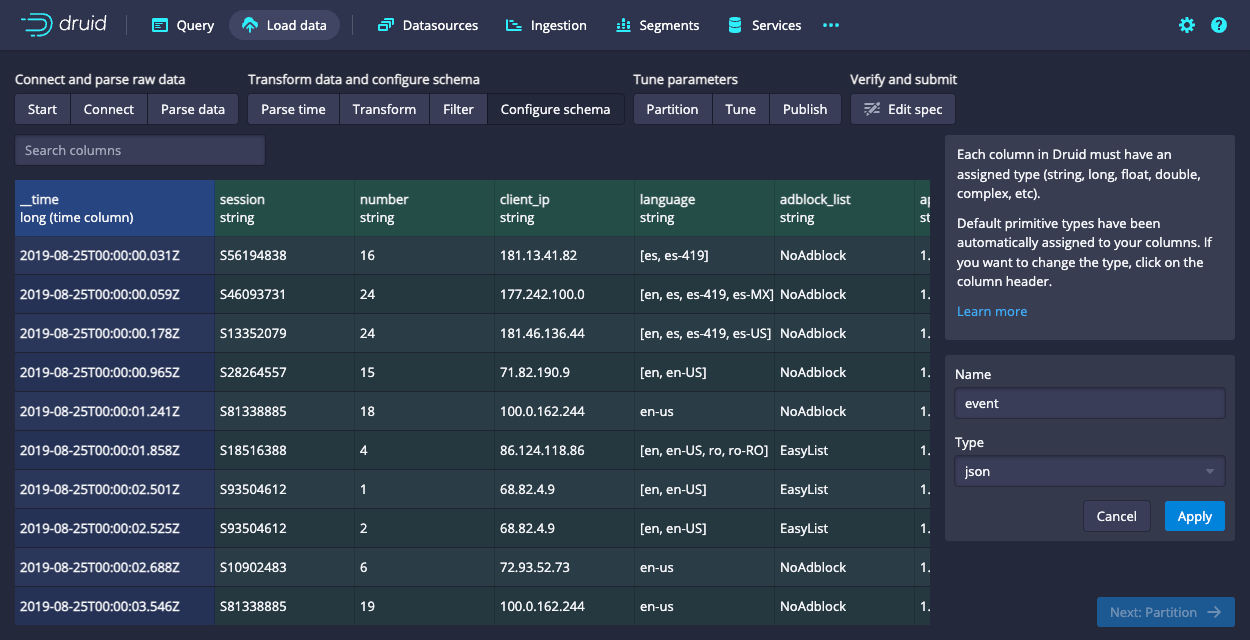
In the Configure schema step, you can select data types for the columns and configure dimensions and metrics to ingest into Druid. The console does most of this for you, but you need to create JSON-type dimensions for the three nested columns in the data.
Click Add dimension and enter the following information. You can only add one dimension at a time.
- Name:
event, Type:json - Name:
agent, Type:json - Name:
geo_ip, Type:json
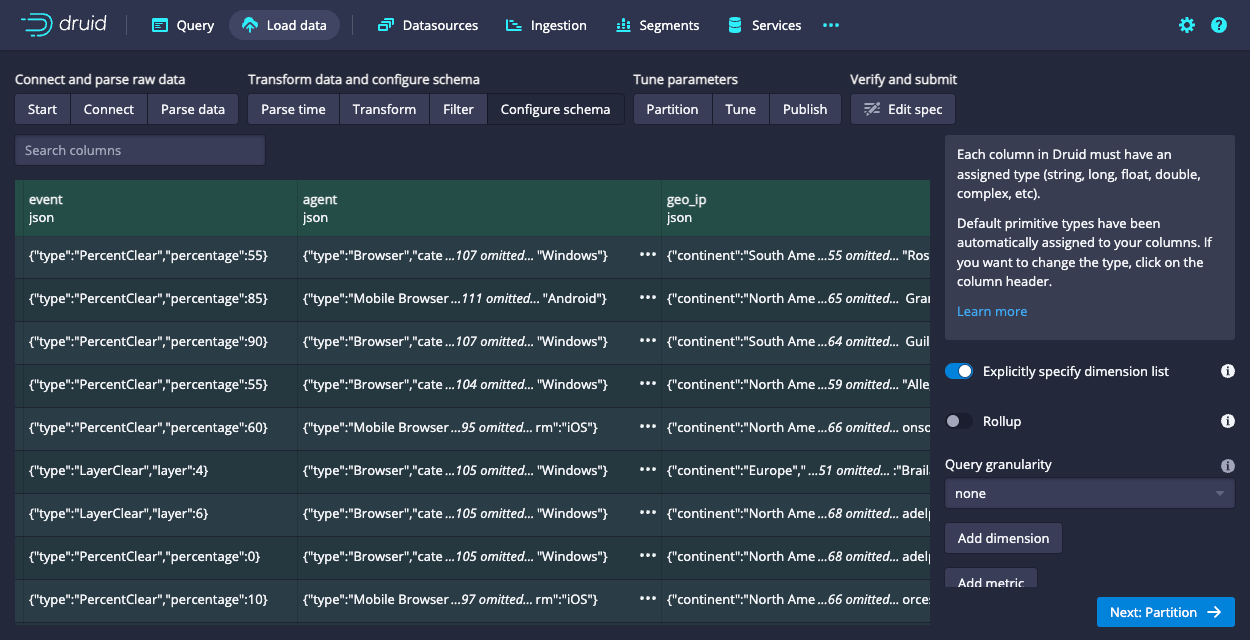
After you create the dimensions, you can scroll to the right in the preview window to see the nested columns:
- Name:
-
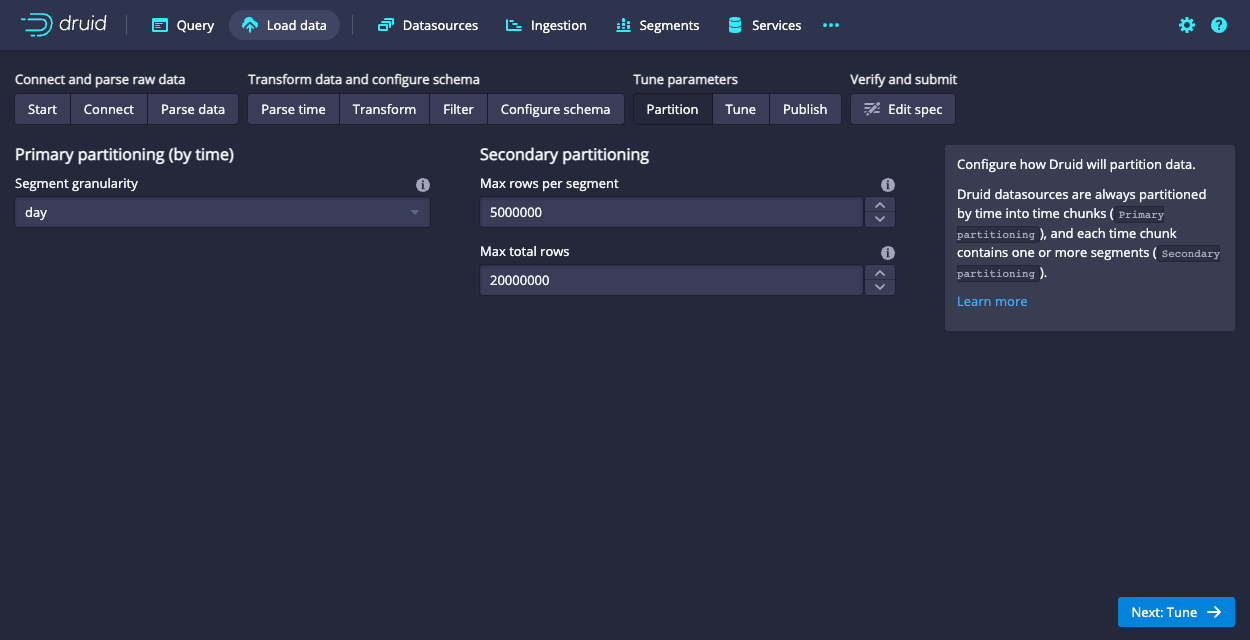
Click Next: Partition to configure how Druid partitions the data into segments.
-
Select
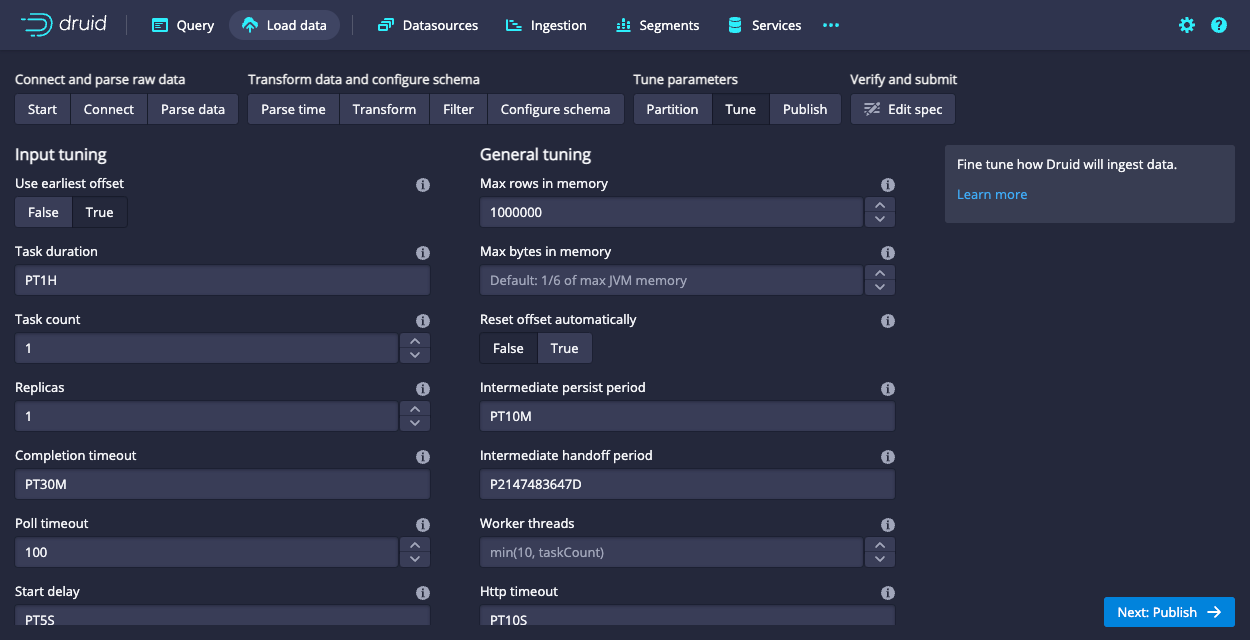
dayas the Segment granularity. Since this is a small dataset, you don't need to make any further adjustments. Click Next: Tune to fine tune how Druid ingests data. -
In Input tuning, set Use earliest offset to
True—this is very important because you want to consume the data from the start of the stream. There are no other changes to make here, so click Next: Publish. -
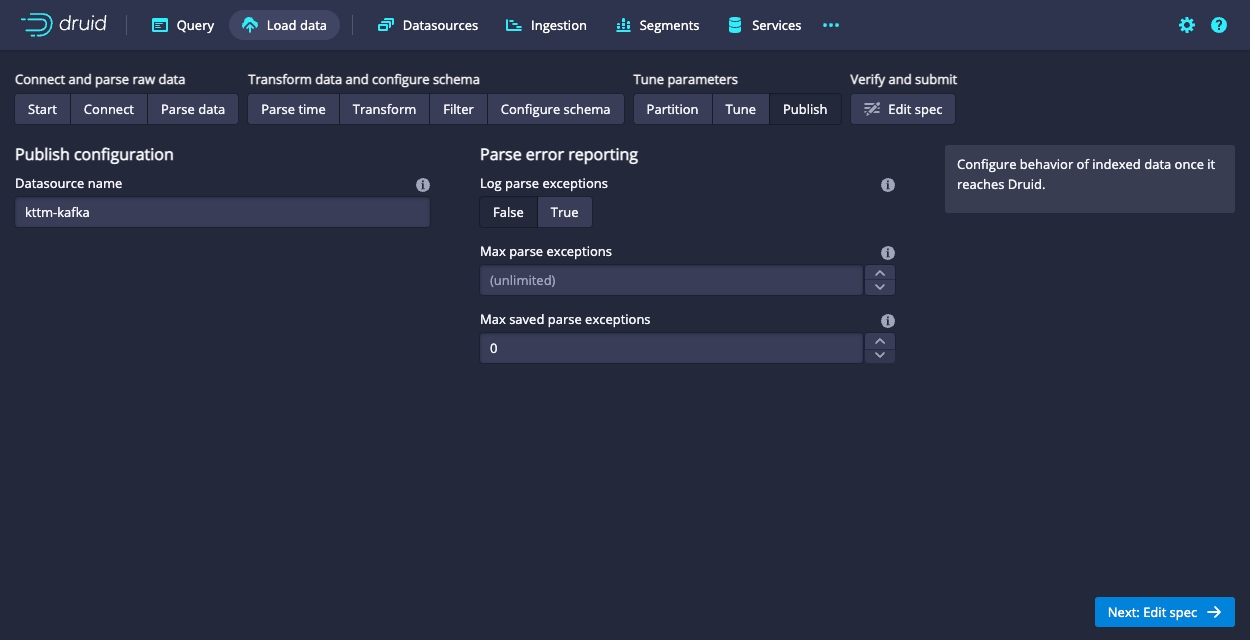
Name the datasource
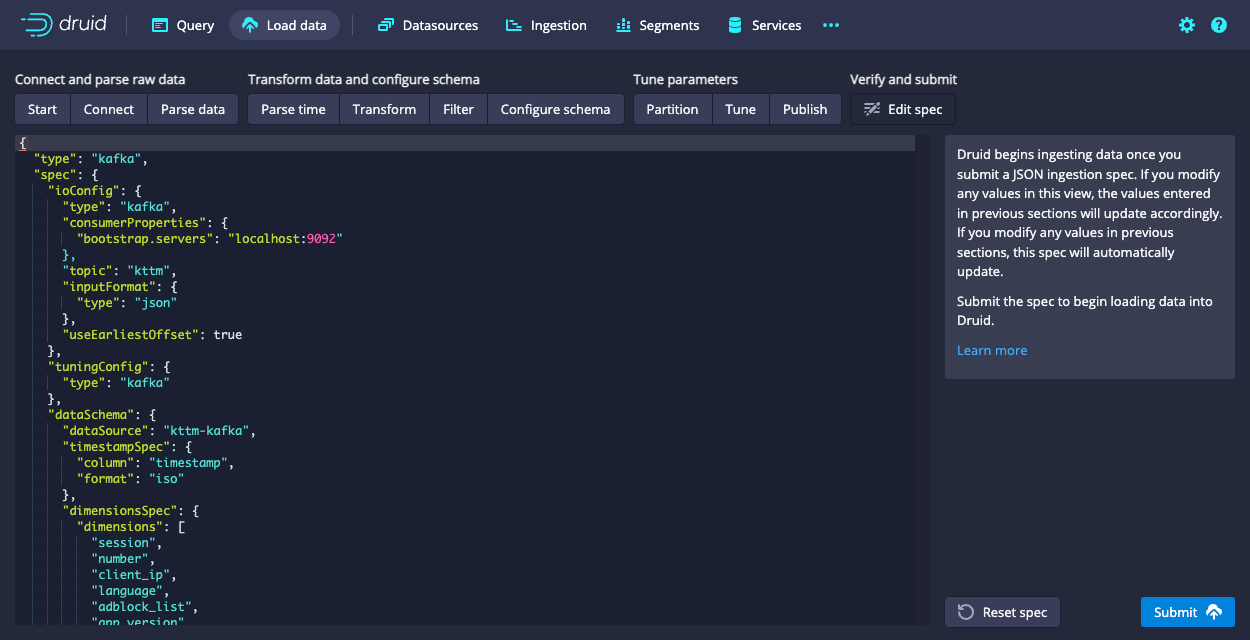
kttm-kafkaand click Next: Edit spec to review your spec.The console presents the spec you've constructed. You can click the buttons above the spec to make changes in previous steps and see how the changes update the spec. You can also edit the spec directly and see it reflected in the previous steps.
-
Click Submit to create an ingestion task.
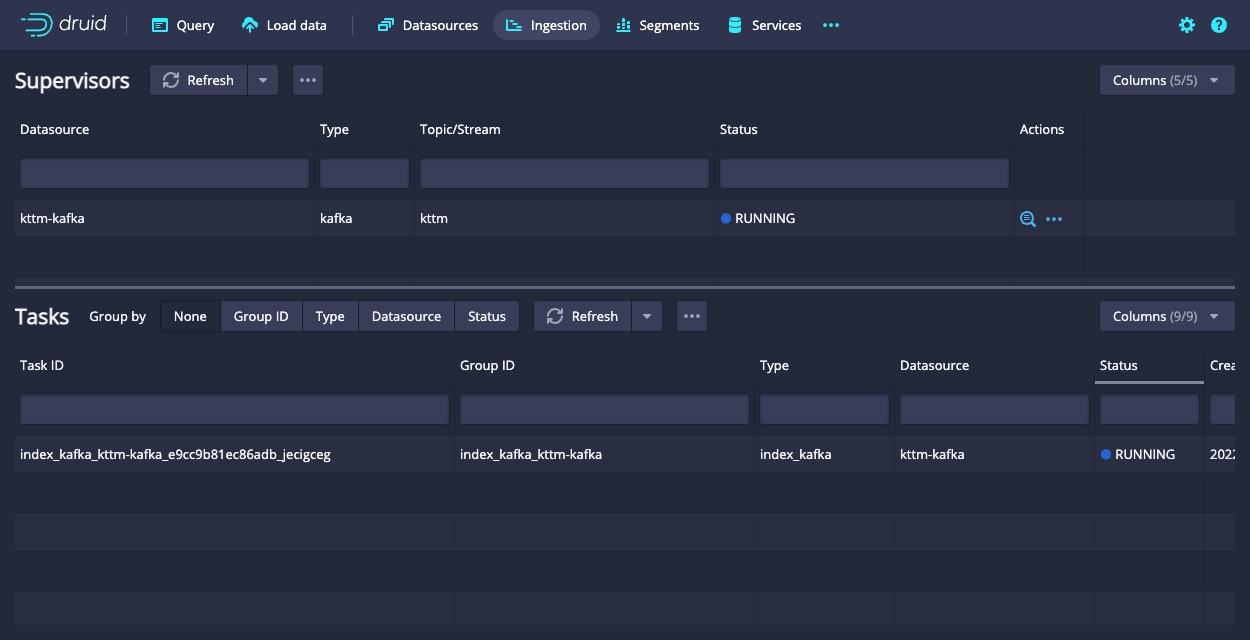
Druid displays the task view with the focus on the newly created supervisor.
The task view auto-refreshes, so wait until the supervisor launches a task. The status changes from Pending to Running as Druid starts to ingest data.
-
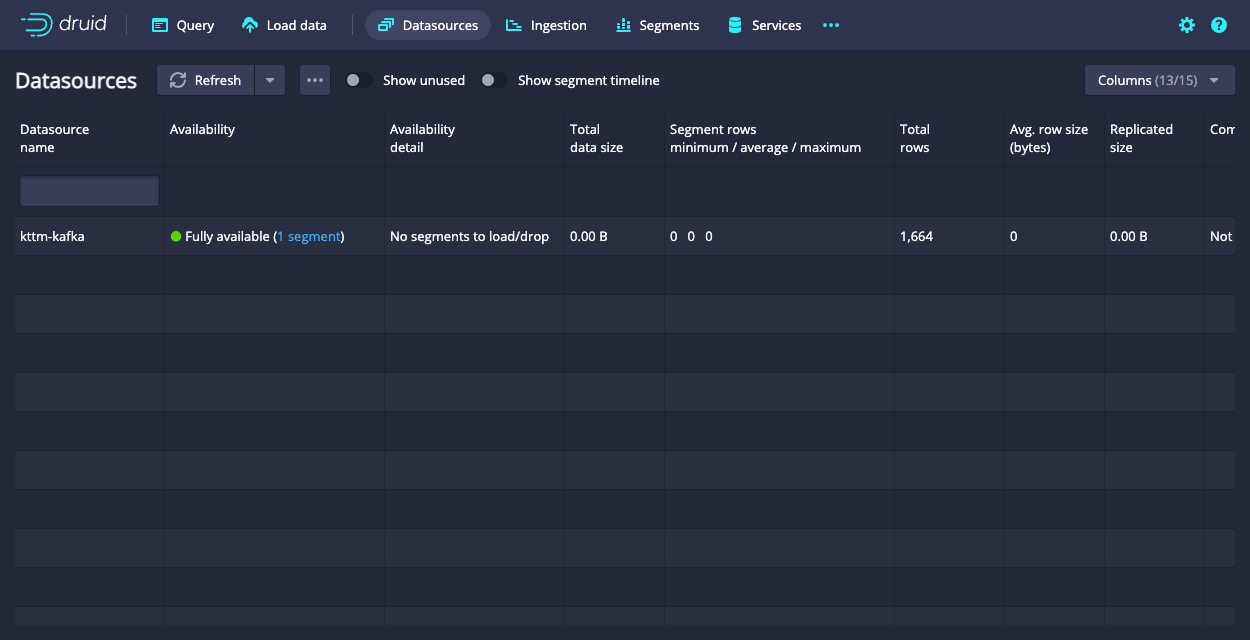
Navigate to the Datasources view from the header.
When the
kttm-kafkadatasource appears here, you can query it. See Query your data for details.If the datasource doesn't appear after a minute you might not have set the supervisor to read data from the start of the stream—the
Use earliest offsetsetting in the Tune step. Go to the Ingestion page and terminate the supervisor using the Actions(...) menu. Load the sample data again and apply the correct setting when you get to the Tune step.
Submit a supervisor spec
As an alternative to using the data loader, you can submit a supervisor spec to Druid. You can do this in the console or using the Druid API.
Use the console
To submit a supervisor spec using the Druid console:
-
Click Ingestion in the console, then click the ellipses next to the refresh button and select Submit JSON supervisor.
-
Paste this spec into the JSON window and click Submit.
{
  "type": "kafka",
  "spec": {
    "ioConfig": {
      "type": "kafka",
      "consumerProperties": {
        "bootstrap.servers": "localhost:9092"
      },
      "topic": "kttm",
      "inputFormat": {
        "type": "json"
      },
      "useEarliestOffset": true
    },
    "tuningConfig": {
      "type": "kafka"
    },
    "dataSchema": {
      "dataSource": "kttm-kafka-supervisor-console",
      "timestampSpec": {
        "column": "timestamp",
        "format": "iso"
      },
      "dimensionsSpec": {
        "dimensions": [
          "session",
          "number",
          "client_ip",
          "language",
          "adblock_list",
          "app_version",
          "path",
          "loaded_image",
          "referrer",
          "referrer_host",
          "server_ip",
          "screen",
          "window",
          {
            "type": "long",
            "name": "session_length"
          },
          "timezone",
          "timezone_offset",
          {
            "type": "json",
            "name": "event"
          },
          {
            "type": "json",
            "name": "agent"
          },
          {
            "type": "json",
            "name": "geo_ip"
          }
        ]
      },
      "granularitySpec": {
        "queryGranularity": "none",
        "rollup": false,
        "segmentGranularity": "day"
      }
    }
  }
}
This starts the supervisor—the supervisor spawns tasks that start listening for incoming data.
-
Click Tasks on the console home page to monitor the status of the job. This spec writes the data in the
kttmtopic to a datasource namedkttm-kafka-supervisor-console.
Use the API
You can also use the Druid API to submit a supervisor spec.
-
Run the following command to download the sample spec:
curl -O https://druid.apache.org/docs/latest/assets/files/kttm-kafka-supervisor.json -
Run the following command to submit the spec in the
kttm-kafka-supervisor.jsonfile:curl -XPOST -H 'Content-Type: application/json' kttm-kafka-supervisor.json http://localhost:8081/druid/indexer/v1/supervisorAfter Druid successfully creates the supervisor, you get a response containing the supervisor ID:
{"id":"kttm-kafka-supervisor-api"}. -
Click Tasks on the console home page to monitor the status of the job. This spec writes the data in the
kttmtopic to a datasource namedkttm-kafka-supervisor-api.
Query your data
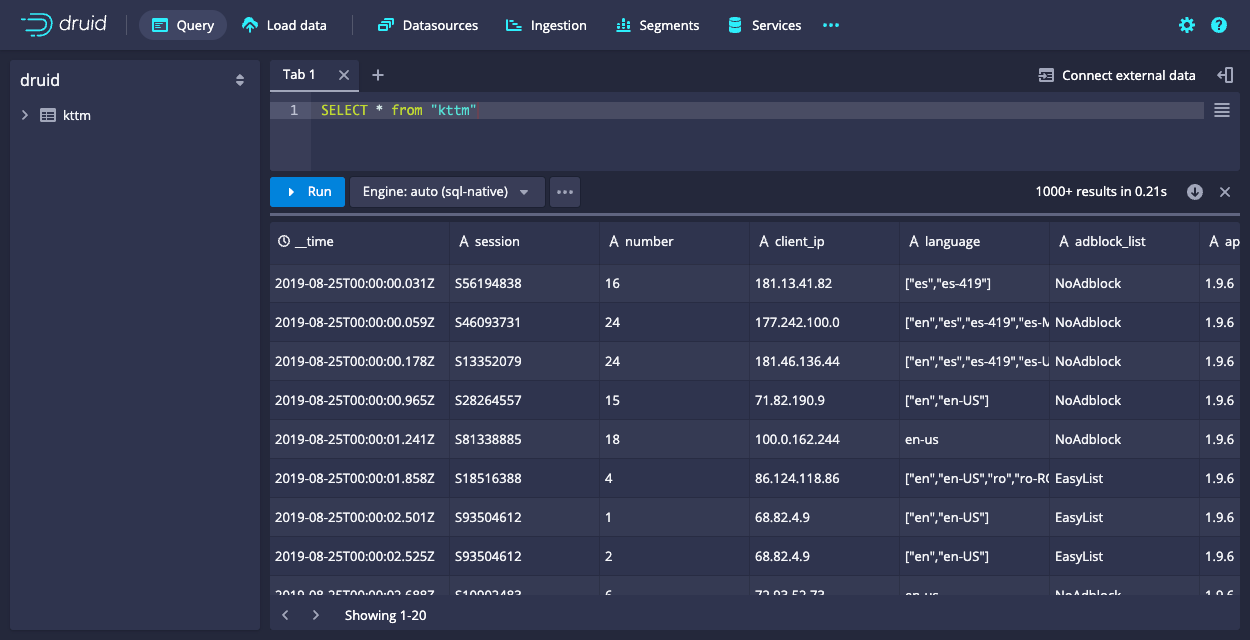
After Druid sends data to the Kafka stream, it is immediately available for querying. Click Query in the Druid console to run SQL queries against the datasource.
Since this tutorial ingests a small dataset, you can run the query SELECT * FROM "kttm-kafka" to return all of the data in the dataset you created.
Check out the Querying data tutorial to run some example queries on the newly loaded data.
Further reading
For more information, see the following topics:
- Apache Kafka ingestion for more information on loading data from Kafka streams.
- Apache Kafka supervisor reference for Kafka supervisor configuration information.
- Apache Kafka supervisor operations reference for information on running and maintaining Kafka supervisors for Druid.
