10 KiB
Set up Discourse in the cloud in under 30 minutes with zero knowledge of Rails or Linux shell using our Discourse Docker image. We recommend DigitalOcean, but these steps will work on any Docker-compatible cloud provider or local server.
Create New Cloud Server
Sign up for DigitalOcean, update billing info, then create your new cloud server.
-
Enter your domain
discourse.example.comas the name. -
The default of 1 GB RAM works fine for small Discourse communities. We recommend 2 GB RAM for larger communities.
-
The default of Ubuntu 14.04 LTS x64 works fine. At minimum, a 64-bit Linux OS with a kernel version of 3.10+ is required.
-
The default of New York is a good choice for most US and European audiences. Or select a region that is geographically closer to your audience.
Create your new Droplet. You will receive an email with the root password to your Droplet. (However, if you know how to use SSH keys, you may not need a password to log in.)
Access Your Cloud Server
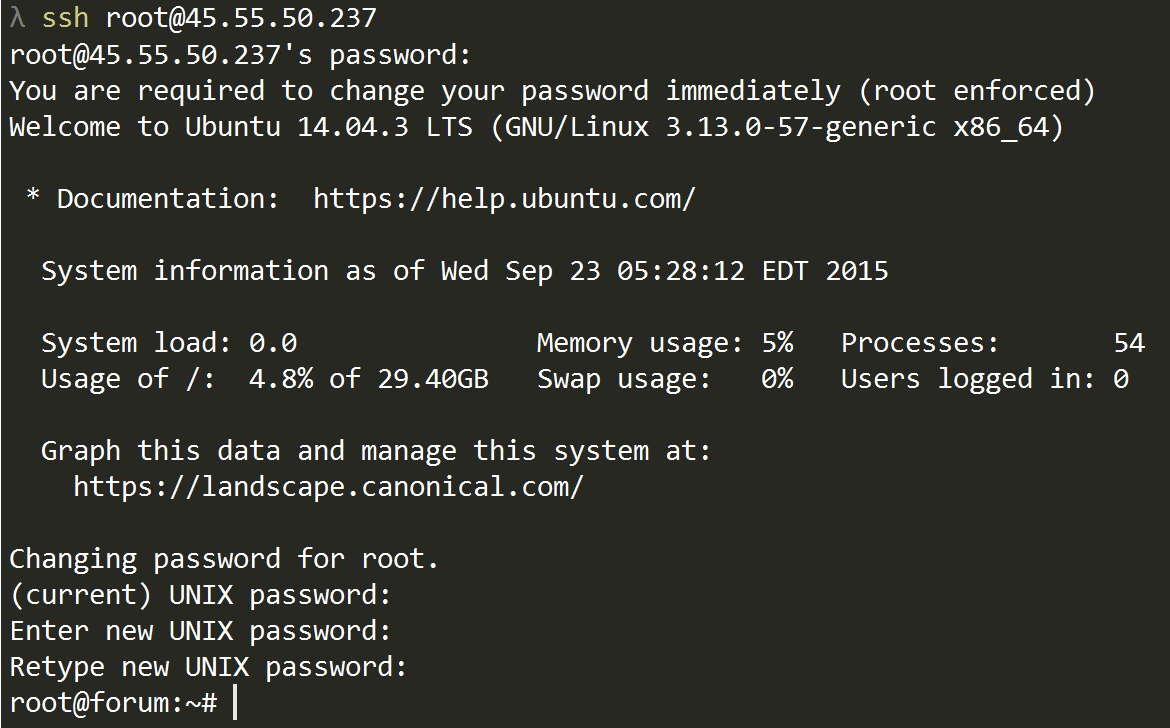
Connect to your server via SSH, or use Putty on Windows:
ssh root@192.168.1.1
Replace 192.168.1.1 with the IP address of your server.
You will be asked for permission to connect, type yes, then enter the root password from the email DigitalOcean sent you when the server was set up. You may be prompted to change the root password, too.
Set up Swap (if needed)
- If you're using the minimum 1 GB install, you must set up a swap file.
- If you're using 2 GB+ memory, you can probably get by without a swap file.
Install Docker / Git
wget -qO- https://get.docker.com/ | sh
This command installs the latest versions of Docker and Git on your server. Alternately, you can manually install Git and the Docker package for your OS.
Install Discourse
Create a /var/discourse folder, clone the Official Discourse Docker Image into it, and make a copy of the config file as app.yml:
sudo -s
mkdir /var/discourse
git clone https://github.com/discourse/discourse_docker.git /var/discourse
cd /var/discourse
cp samples/standalone.yml containers/app.yml
You will need to be root through the rest of the bootstrap process.
Edit Discourse Configuration
Edit the Discourse config file app.yml:
nano containers/app.yml
We recommend Nano because it's simple; just use your arrow keys to edit.
-
Set
DISCOURSE_DEVELOPER_EMAILSto your email address. -
Set
DISCOURSE_HOSTNAMEtodiscourse.example.com, this means you want your Discourse available athttp://discourse.example.com/. You'll need to update the DNS A record for this domain with the IP address of your server. -
Place your Email Server credentials in
DISCOURSE_SMTP_ADDRESS,DISCOURSE_SMTP_PORT,DISCOURSE_SMTP_USER_NAME,DISCOURSE_SMTP_PASSWORD. Be sure you remove the comment#character and space from the front of these lines as necessary. -
If you are using a 1 GB instance, set
UNICORN_WORKERSto 2 anddb_shared_buffersto 128MB so you have more memory room.
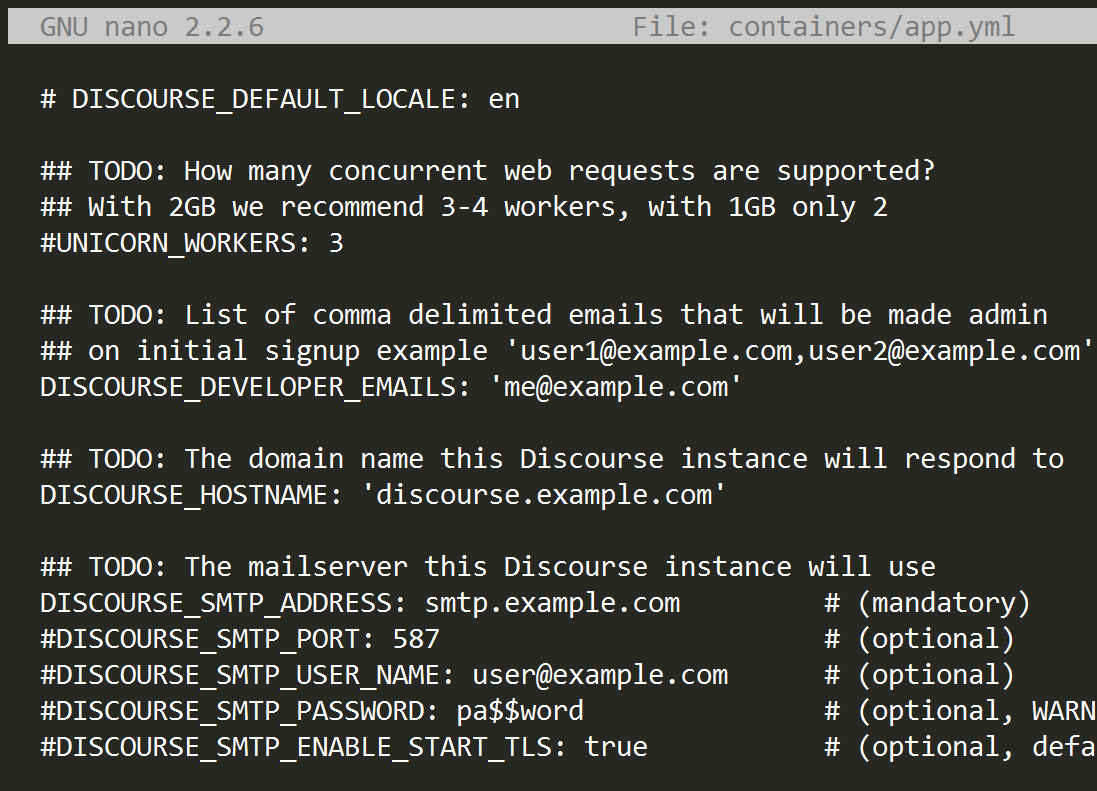
Please be careful while editing and double check your work; YAML is very sensitive to incorrect spacing and misplaced characters. After completing your edits, press CtrlO then Enter to save and CtrlX to exit.
Email Is Important
Email is CRITICAL for account creation and notifications in Discourse. If you do not properly configure email before bootstrapping YOU WILL HAVE A BROKEN SITE!
-
Already have a mail server? Great. Use your existing mail server credentials.
-
No existing mail server? Check out our Recommended Email Providers for Discourse.
-
For proper email deliverability, you must set correct SPF and DKIM records in your DNS. See your email provider instructions for specifics.
If you need to change or fix your email settings after bootstrapping, you must edit the app.yml file again and ./launcher rebuild app, otherwise your changes will not take effect. If you didn't receive an email from your install, read Register New Account and Become Admin for troubleshooting.
Bootstrap Discourse
Save the app.yml file, and begin bootstrapping Discourse:
./launcher bootstrap app
This command takes between 2-8 minutes to automagically configure your Discourse. After that completes, start Discourse:
./launcher start app
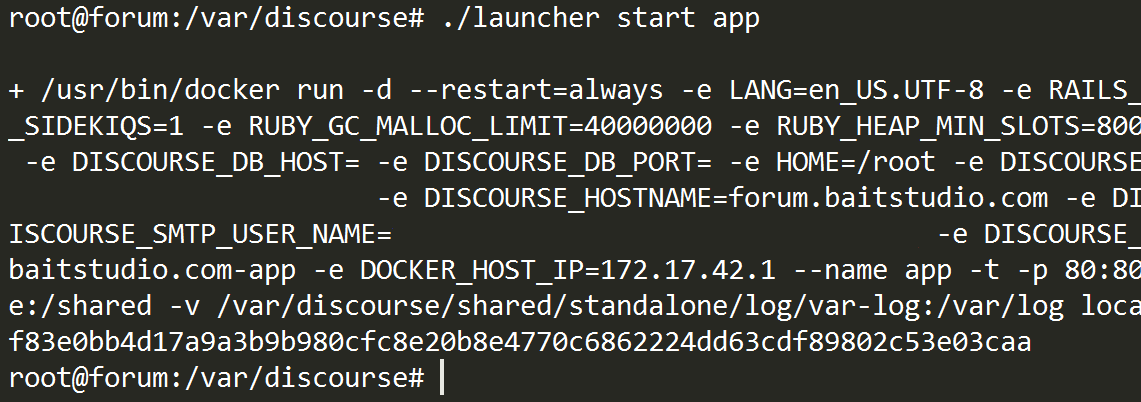
Congratulations! You just built your very own Discourse!
Your Discourse should be accessible in your web browser via the domain name discourse.example.com you entered earlier, provided you configured DNS. If not, you can visit the server IP directly, e.g. http://192.168.1.1.
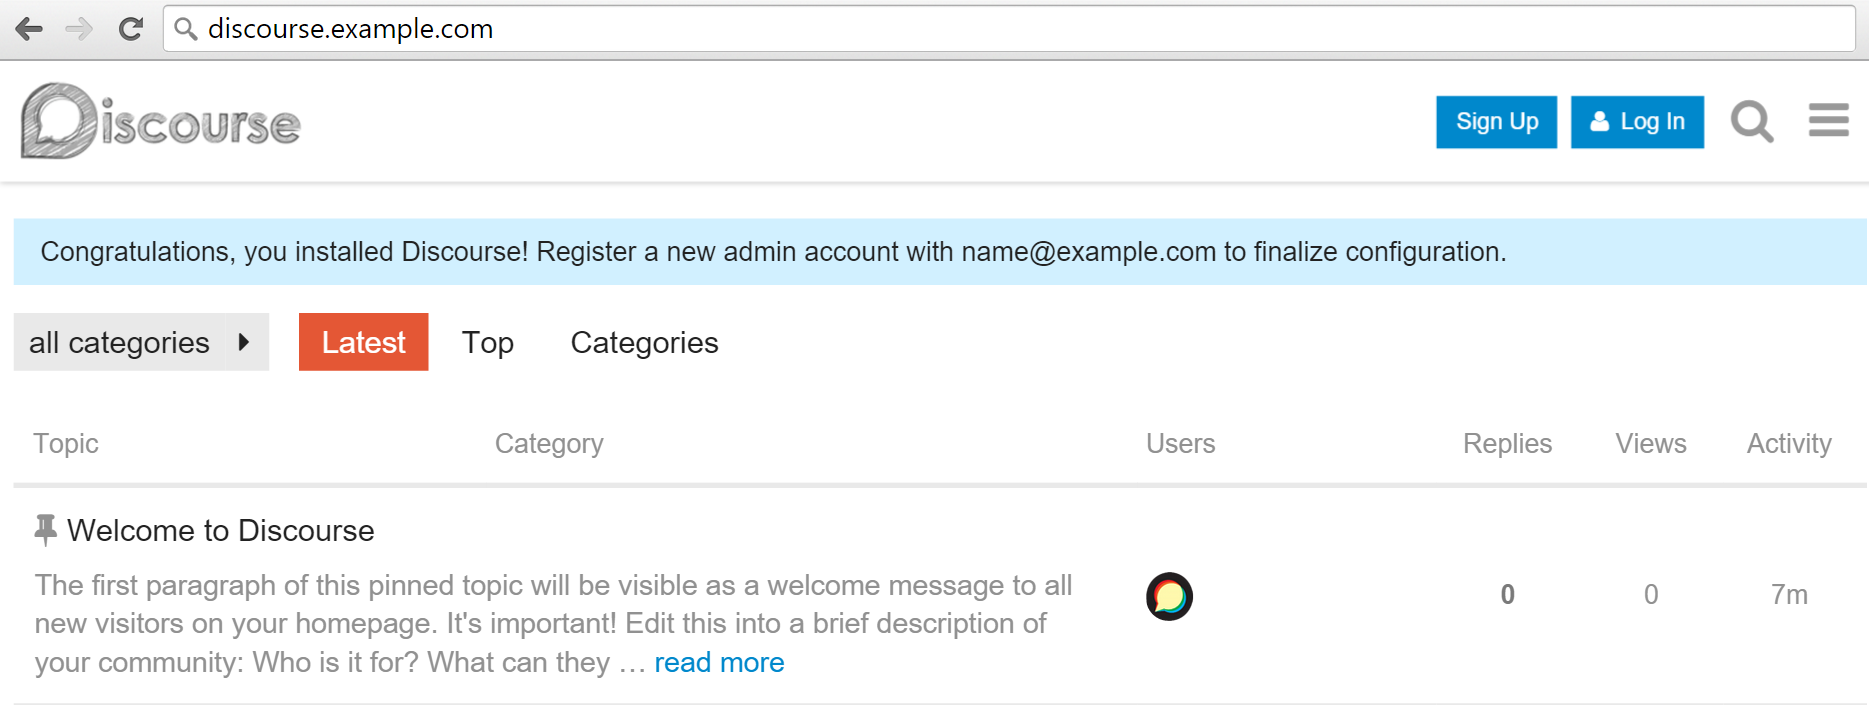
Register New Account and Become Admin
There is a reminder at the top about the DISCOURSE_DEVELOPER_EMAILS you entered previously in app.yml; register a new account using one of those email addresses, and your account will automatically be made an Admin.
(If you don't get any email from your install, and are unable to register a new admin account, please check the logs at /var/discourse/shared/standalone/log/rails/production.log and see our Email Troubleshooting checklist.)
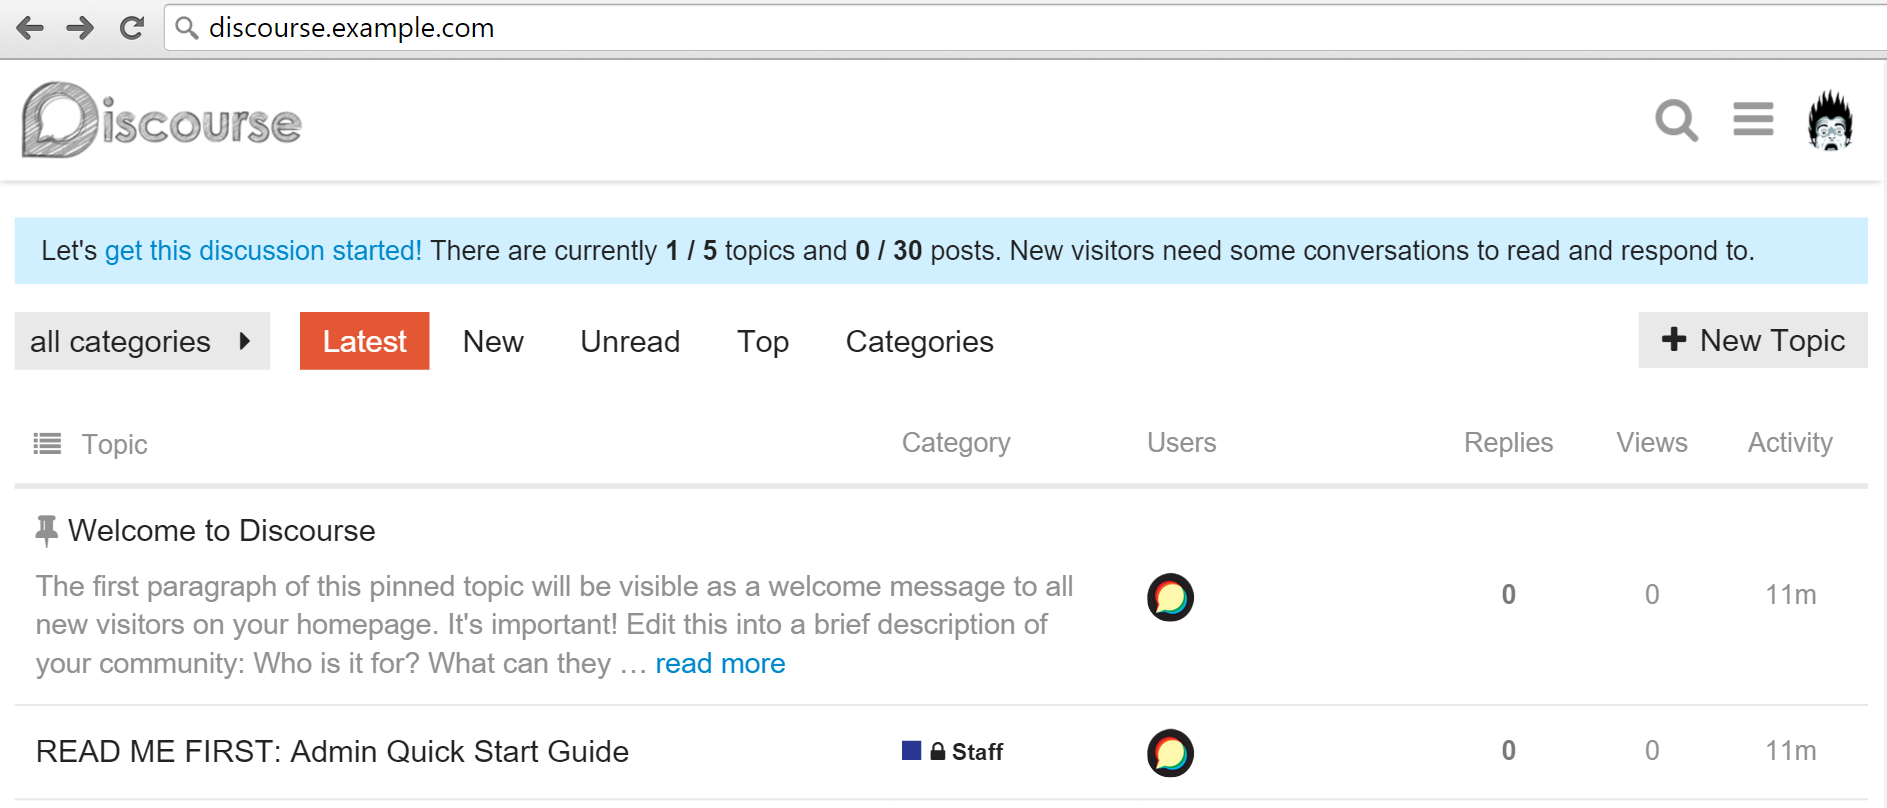
You should see Staff topics and READ ME FIRST: Admin Quick Start Guide. This guide contains the next steps for further configuring and customizing your Discourse install as an administrator. Read it closely!
(If you are still unable to register a new admin account via email, see Create Admin Account from Console, but please note that you will have a broken site unless you get email working on your instance.)
Post-Install Maintenance
We strongly suggest you:
- Turn on automatic security updates for your OS. In Ubuntu use the
dpkg-reconfigure -plow unattended-upgradescommand. - If you are using a password and not a SSH key, be sure to enforce a strong root password. In Ubuntu use the
apt-get install libpam-cracklibpackage.
You will get email reminders as new versions of Discourse are released. Please stay current to get the latest features and security fixes. To upgrade Discourse to the latest version, visit /admin/upgrade in your browser and click the Upgrade button.
The launcher command in the /var/discourse folder can be used for various kinds of maintenance:
Usage: launcher COMMAND CONFIG [--skip-prereqs]
Commands:
    start:      Start/initialize a container
    stop:       Stop a running container
    restart:    Restart a container
    destroy:    Stop and remove a container
    enter:      Enter a container using docker exec
    logs:       Docker logs for container
    bootstrap:  Bootstrap a container for the config based on a template
    rebuild:    Rebuild a container (destroy old, bootstrap, start new)
    cleanup:    Remove all containers that have stopped for > 24 hours

Options:
    --skip-prereqs   Don't check prerequisites
    --docker-args    Extra arguments to pass when running docker
Add More Discourse Features
Do you want...
- Users to log in only via your pre-existing website's registration system? Configure Single-Sign-On.
-
Users to log in via Google? Configure Google logins.
-
Users to log in via Facebook? Configure Facebook logins.
-
Users to log in via Twitter? Configure Twitter logins.
-
Users to log in via GitHub? Configure GitHub logins
-
Users to post replies via email? Configure reply via email.
-
Automatic daily backups? Configure backups.
-
Free HTTPS / SSL support? Configure Let's Encrypt
-
Paid HTTPS / SSL support? Configure SSL.
-
Multiple Discourse sites on the same server? Configure multisite.
-
A Content Delivery Network to speed up worldwide access? Configure a CDN. We recommend Fastly.
-
Import old content from vBulletin, PHPbb, Vanilla, Drupal, BBPress, etc? See our open source importers
-
A firewall on your server? Configure firewall
-
To embed Discourse in your WordPress install, or on your static HTML site?
Help us improve this guide! Feel free to ask about it on meta.discourse.org, or even better, submit a pull request.