11 KiB
Discourse 文档
云平台安装
在基于云平台的 Discourse 安装通常不会超过 30 分钟,哪怕你没有任何有关 Rails 或 Linux shell 的知识都能够顺利完成安装。 下面我们是通过 DigitalOcean 服务提供商来进行安装测的,但是所有的安装步骤都能够在 所有兼容 Docker 的云计算平台上进行,同时也可以在本地的服务器上完成安装。
🔔 如果你连 30 分钟都没有的话?你可以联系 Discourse 社区来帮你完成安装,Discourse 社区将会收取一次性 $150 (美元)的费用。 单击此处链接来对服务进行购买 。
创建一个新的云服务器
创建一个你的新云服务器,例如:DigitalOcean,当然你也可以使用其他平台提供的服务器。
-
默认配置 当前版本的 LTS Ubuntu 操作系统 能够很好的工作。最少,需要一个 64 位的 Linux 操作系统,并且这个操作系统的内核需要更新到最新的版本。
-
默认配置 1 GB 的内存针对小型的 Discourse 社区通常都能很好的运行。但我们推荐针对大型社区使用 2 GB 的内存。
-
默认配置 New York 数据中心针对北美和欧洲来说都是不错的地理分区,如果你的 Discourse 用户使用的对象多是其他地理位置的用户,那么你可以选择离你稍近的数据中心。
-
Enter your domain
discourse.example.comas the Droplet name.
Create your new Droplet. You may receive an email with the root password, however, you should set up SSH keys, as they are more secure.
访问你的云服务器
Connect to your server via its IP address using SSH, or Putty on Windows:
ssh root@192.168.1.1
Either use the root password from the email DigitalOcean sent you when the server was set up, or have a valid SSH key configured on your local machine.
Install Docker / Git (Optional)
If you have reason to install your own version of Docker, you may do so. If docker is not installed, discourse-setup will automatically install it from get.docker.com.
Install Discourse
Clone the Official Discourse Docker Image into /var/discourse.
sudo -s
git clone https://github.com/discourse/discourse_docker.git /var/discourse
cd /var/discourse
You will need to be root through the rest of the setup and bootstrap process.
⚠️ Email is CRITICAL for account creation and notifications in Discourse. If you do not properly configure email before bootstrapping YOU WILL HAVE A BROKEN SITE!
-
Already have a mail server? Great. Use your existing mail server credentials.
-
No existing mail server? Check out our Recommended Email Providers for Discourse.
-
To ensure mail deliverability, you must add valid SPF and DKIM records in your DNS. See your mail provider instructions for specifics.
Domain Name
🔔 Discourse will not work from an IP address, you must own a domain name such as
example.comto proceed.
-
Already own a domain name? Great. Select a subdomain such as
discourse.example.comortalk.example.comorforum.example.comfor your Discourse instance. -
No domain name? We can recommend NameCheap, or there are many other great domain name registrars to choose from.
-
Your DNS controls should be accessible from the place where you purchased your domain name. Create a DNS
Arecord for thediscourse.example.comhostname in your DNS control panel, pointing to the IP address of your cloud instance where you are installing Discourse.
Edit Discourse Configuration
Launch the setup tool at
./discourse-setup
Answer the following questions when prompted:
Hostname for your Discourse? [discourse.example.com]:
Email address for admin account(s)? [me@example.com,you@example.com]:
SMTP server address? [smtp.example.com]:
SMTP port? [587]:
SMTP user name? [user@example.com]:
SMTP password? [pa$$word]:
Let's Encrypt account email? (ENTER to skip) [me@example.com]:
This will generate an app.yml configuration file on your behalf, and then kicks off bootstrap. Bootstrapping takes between 2-8 minutes to set up your Discourse. If you need to change these settings after bootstrapping, you can run ./discourse-setup again (it will re-use your previous values from the file) or edit /containers/app.yml manually with nano and then ./launcher rebuild app, otherwise your changes will not take effect.
Start Discourse
Once bootstrapping is complete, your Discourse should be accessible in your web browser via the domain name discourse.example.com you entered earlier.

Register New Account and Become Admin
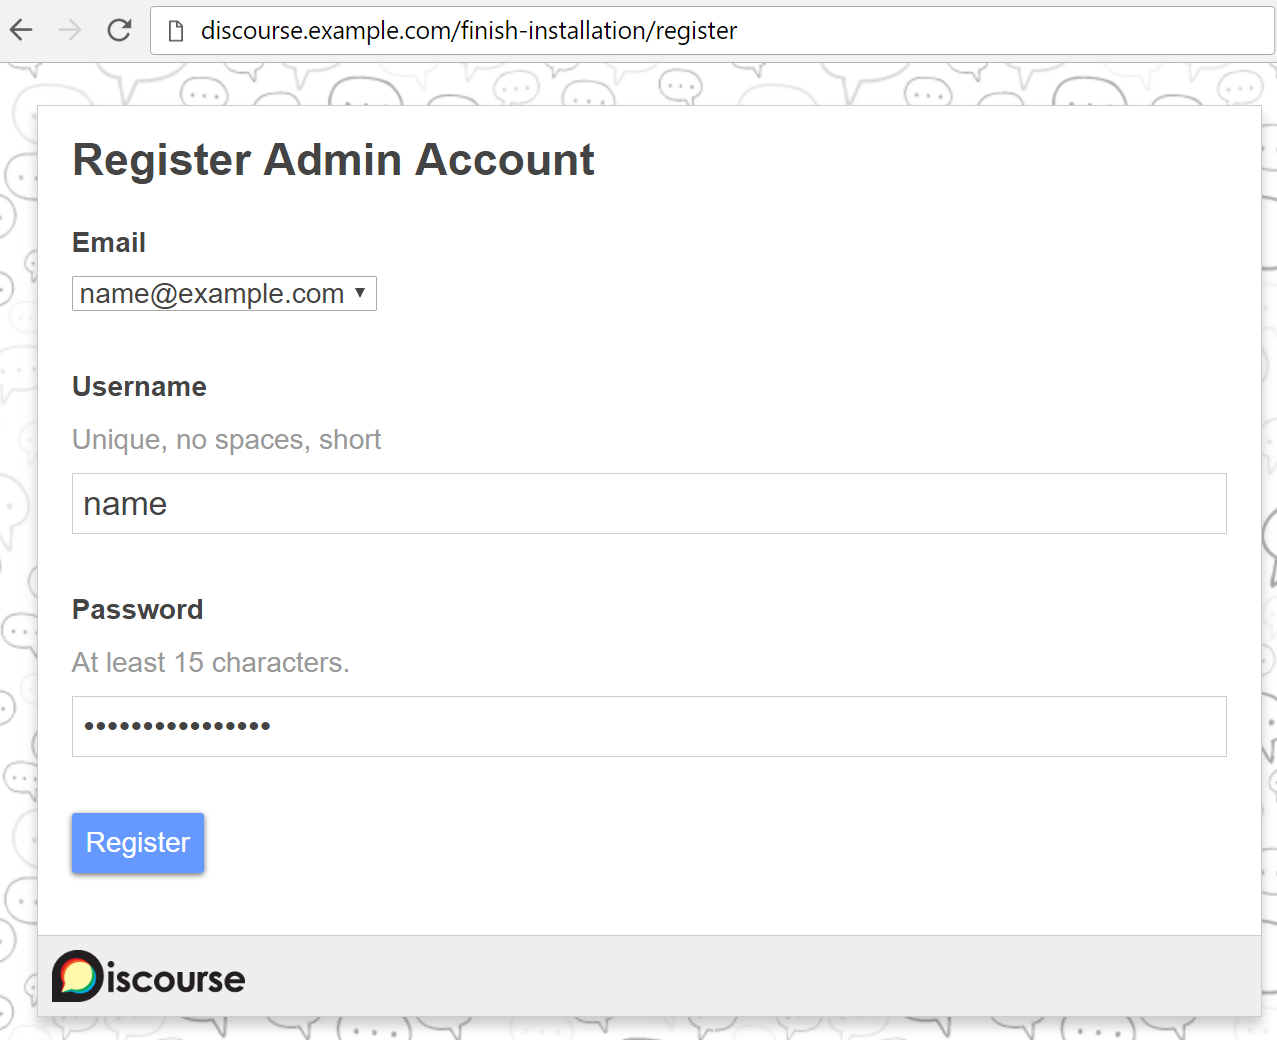
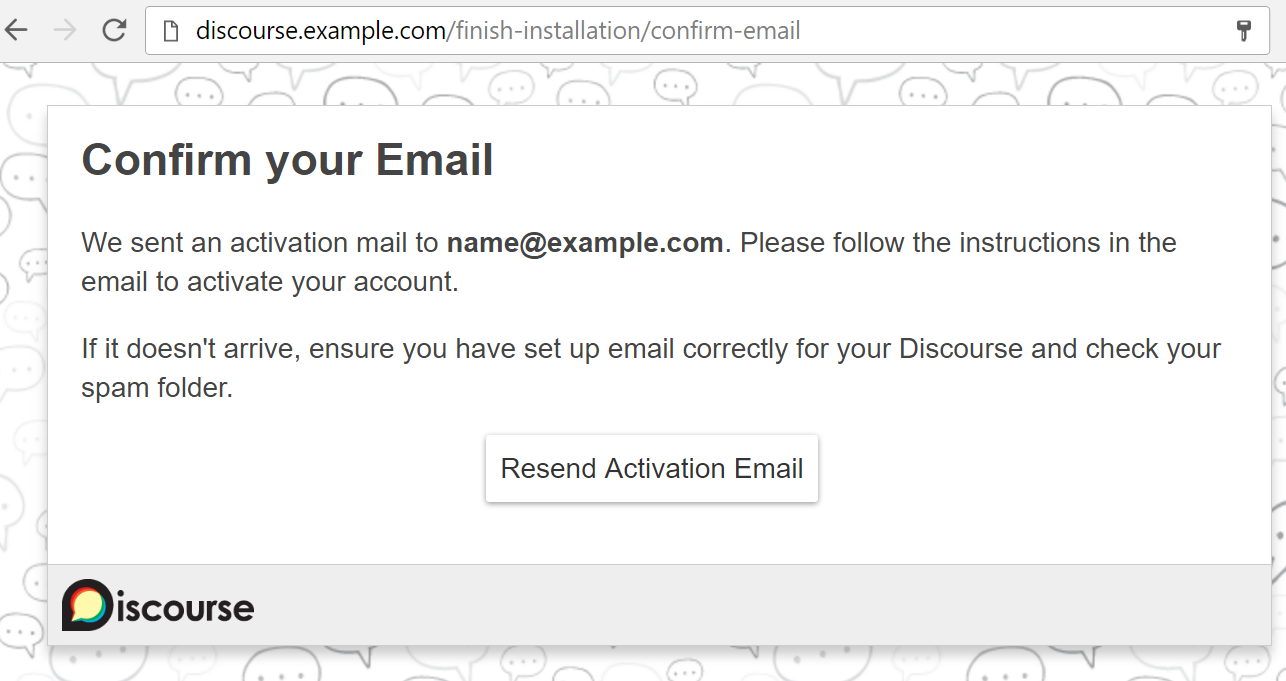
Register a new admin account using one of the email addresses you entered before bootstrapping.


(If you are unable to register your admin account, check the logs at /var/discourse/shared/standalone/log/rails/production.log and see our Email Troubleshooting checklist.)
After registering your admin account, the setup wizard will launch and guide you through basic configuration of your Discourse.

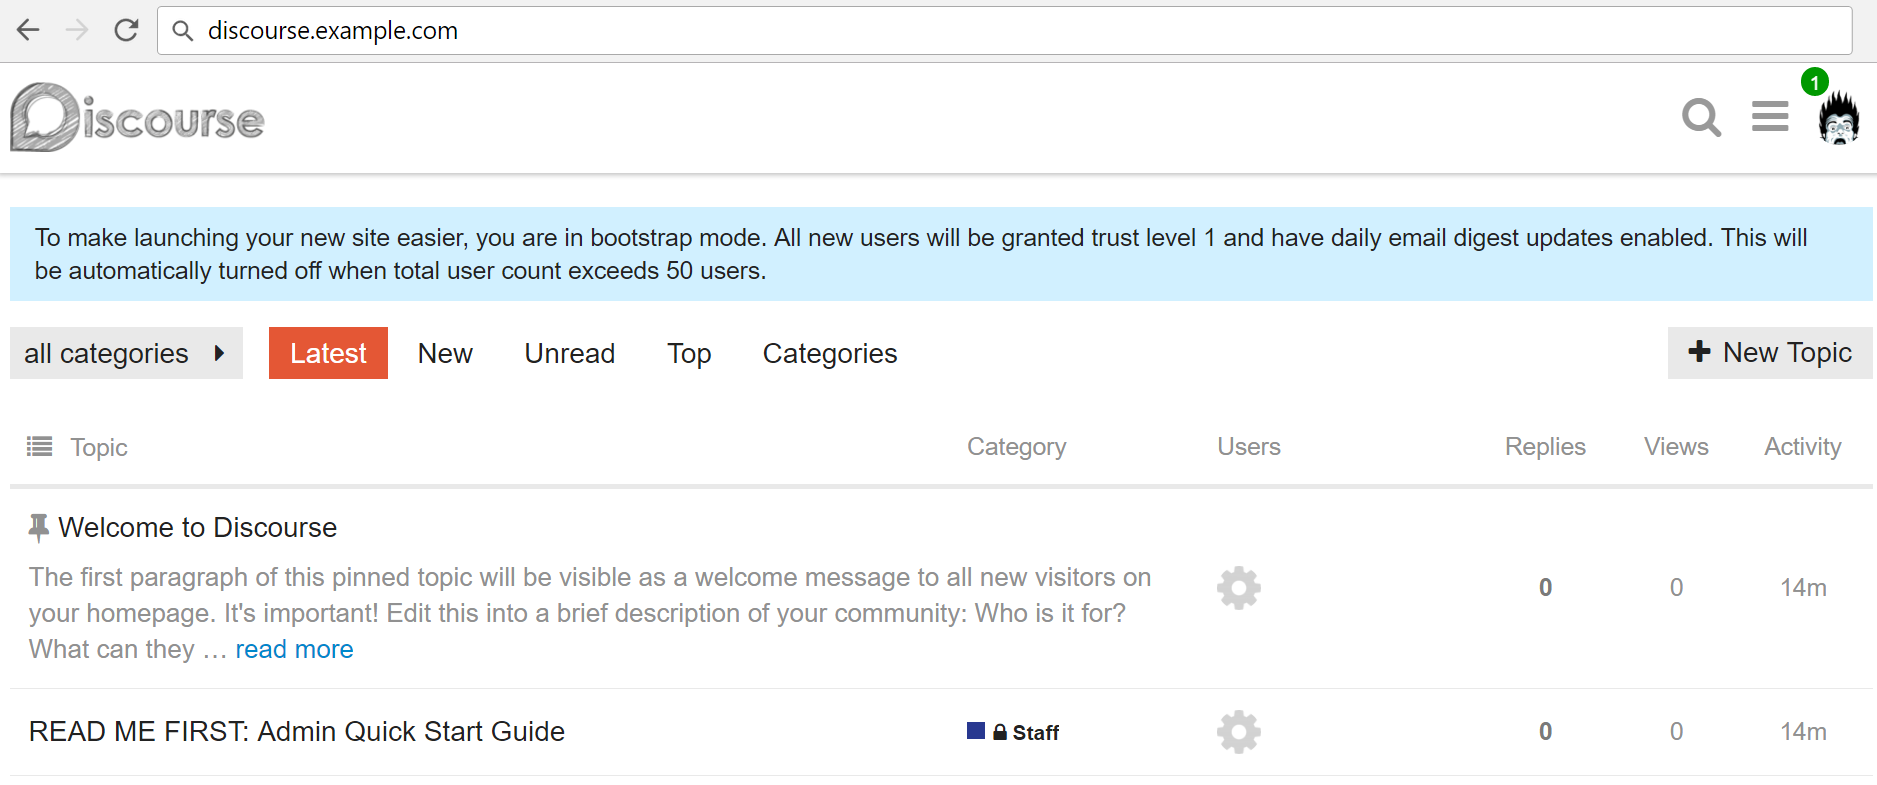
After completing the setup wizard, you should see Staff topics and READ ME FIRST: Admin Quick Start Guide. This guide contains advice for further configuring and customizing your Discourse install.

Post-Install Maintenance
- We strongly suggest you turn on automatic security updates for your OS. In Ubuntu use the
dpkg-reconfigure -plow unattended-upgradescommand. In CentOS/RHEL, use theyum-cronpackage. - If you are using a password and not a SSH key, be sure to enforce a strong root password. In Ubuntu use the
apt-get install libpam-cracklibpackage. We also recommendfail2banwhich blocks any IP addresses for 10 minutes that attempt more than 3 password retries.- Ubuntu:
apt-get install fail2ban - CentOS/RHEL:
sudo yum install fail2ban(requires EPEL)
- Ubuntu:
- If you need or want a default firewall, turn on ufw for Ubuntu or use
firewalldfor CentOS/RHEL 7 or later.
You will get email reminders as new versions of Discourse are released. Please stay current to get the latest features and security fixes. To upgrade Discourse to the latest version, visit /admin/upgrade in your browser and click the Upgrade button.
The launcher command in the /var/discourse folder can be used for various kinds of maintenance:
Usage: launcher COMMAND CONFIG [--skip-prereqs] [--docker-args STRING]
Commands:
    start:      Start/initialize a container
    stop:       Stop a running container
    restart:    Restart a container
    destroy:    Stop and remove a container
    enter:      Use nsenter to get a shell into a container
    logs:       View the Docker logs for a container
    bootstrap:  Bootstrap a container for the config based on a template
    rebuild:    Rebuild a container (destroy old, bootstrap, start new)
    cleanup:    Remove all containers that have stopped for > 24 hours

Options:
    --skip-prereqs             Don't check launcher prerequisites
    --docker-args              Extra arguments to pass when running docker
Add More Discourse Features
Do you want...
- Users to log in only via your pre-existing website's registration system? Configure Single-Sign-On.
-
Users to post replies via email? Configure reply via email.
-
Automatic daily backups? Configure backups.
-
Free HTTPS / SSL support? Configure Let's Encrypt. Paid HTTPS / SSL support? Configure SSL.
-
Use a plugin from Discourse or a third party? Configure plugins
-
Multiple Discourse sites on the same server? Configure multisite.
-
Webhooks when events happen in Discourse? Configure webhooks.
-
A Content Delivery Network to speed up worldwide access? Configure a CDN. We recommend Fastly.
-
Import old content from vBulletin, PHPbb, Vanilla, Drupal, BBPress, etc? See our open source importers.
-
A user friendly offline page when rebuilding or upgrading?
-
To embed Discourse in your WordPress install, or on your static HTML site?
Help us improve this guide! Feel free to ask about it on meta.discourse.org, or even better, submit a pull request.